Time to get going with the new home lab. First order of business: new rack. Since I have no more space constraints this will be a full rack. I was looking for a Dell EMC² rack but I ended up with a Cray CS400 rack with chilled door.
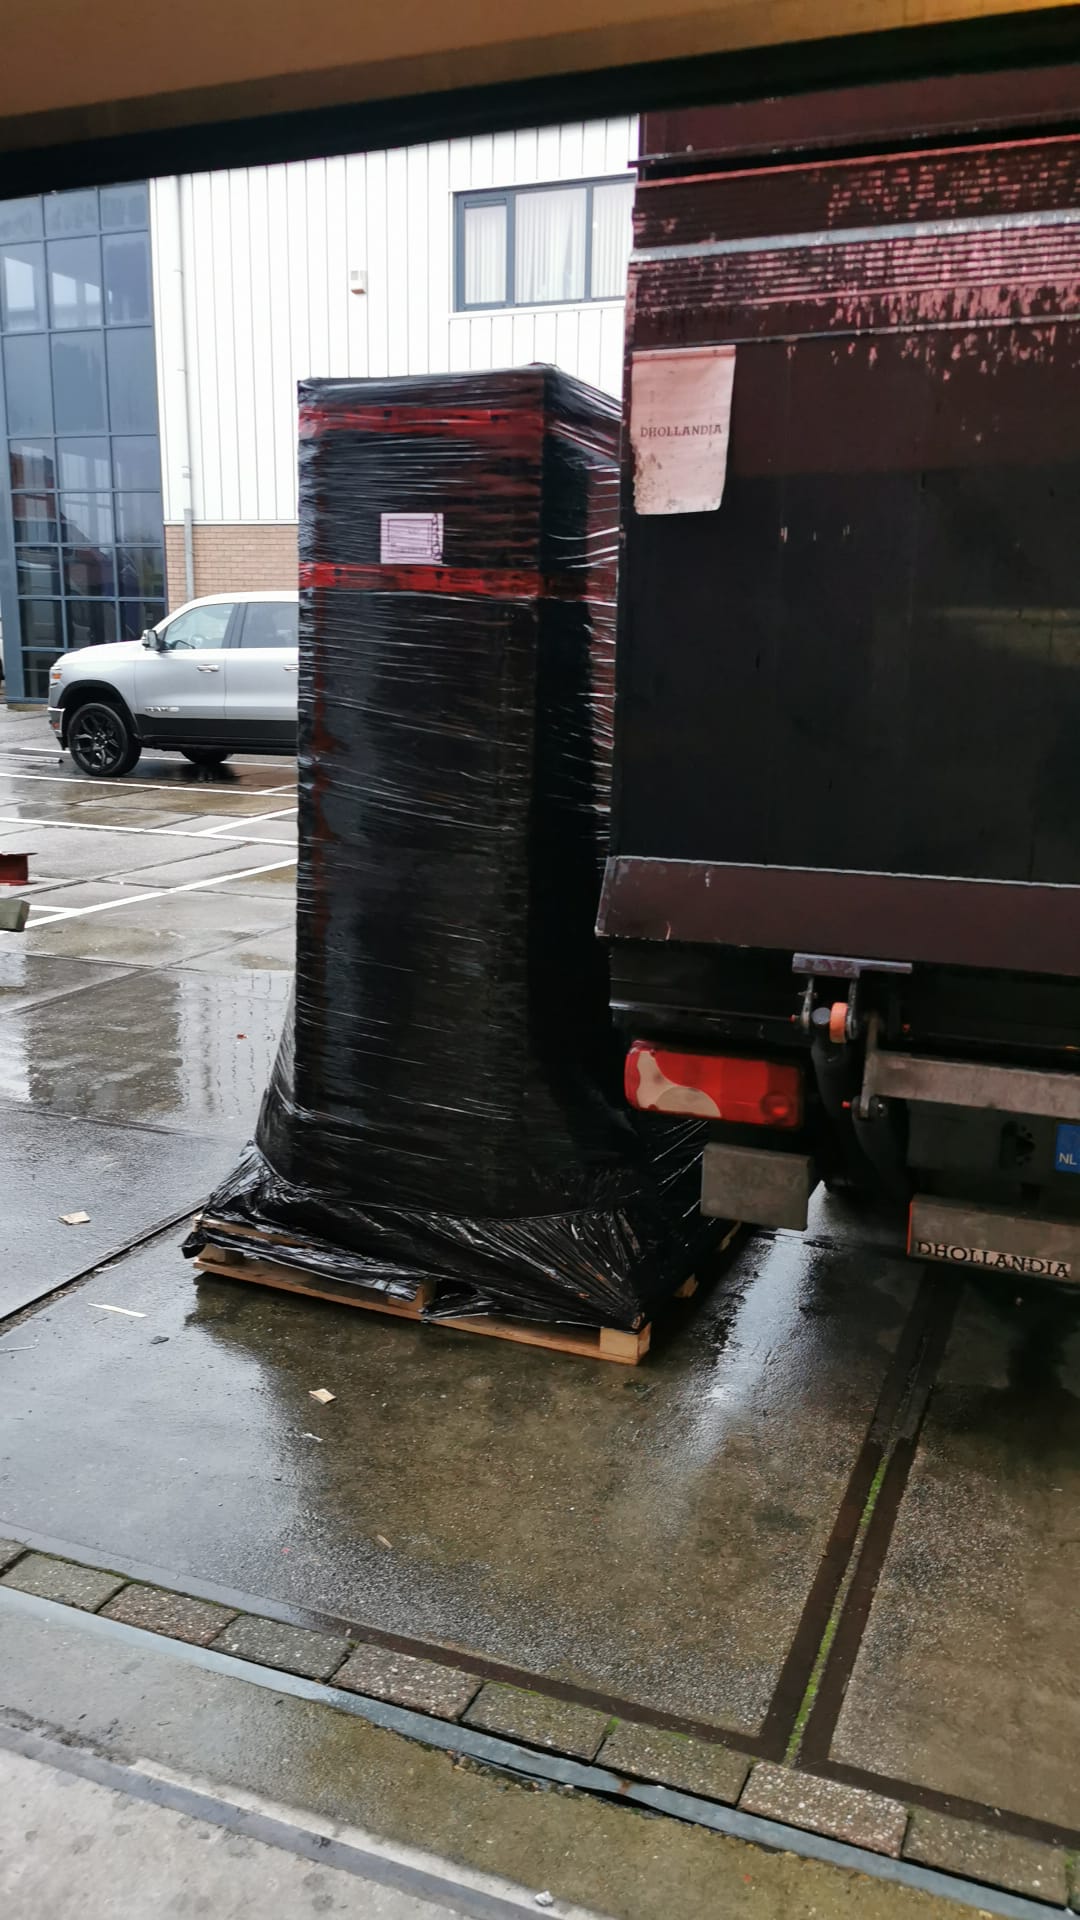

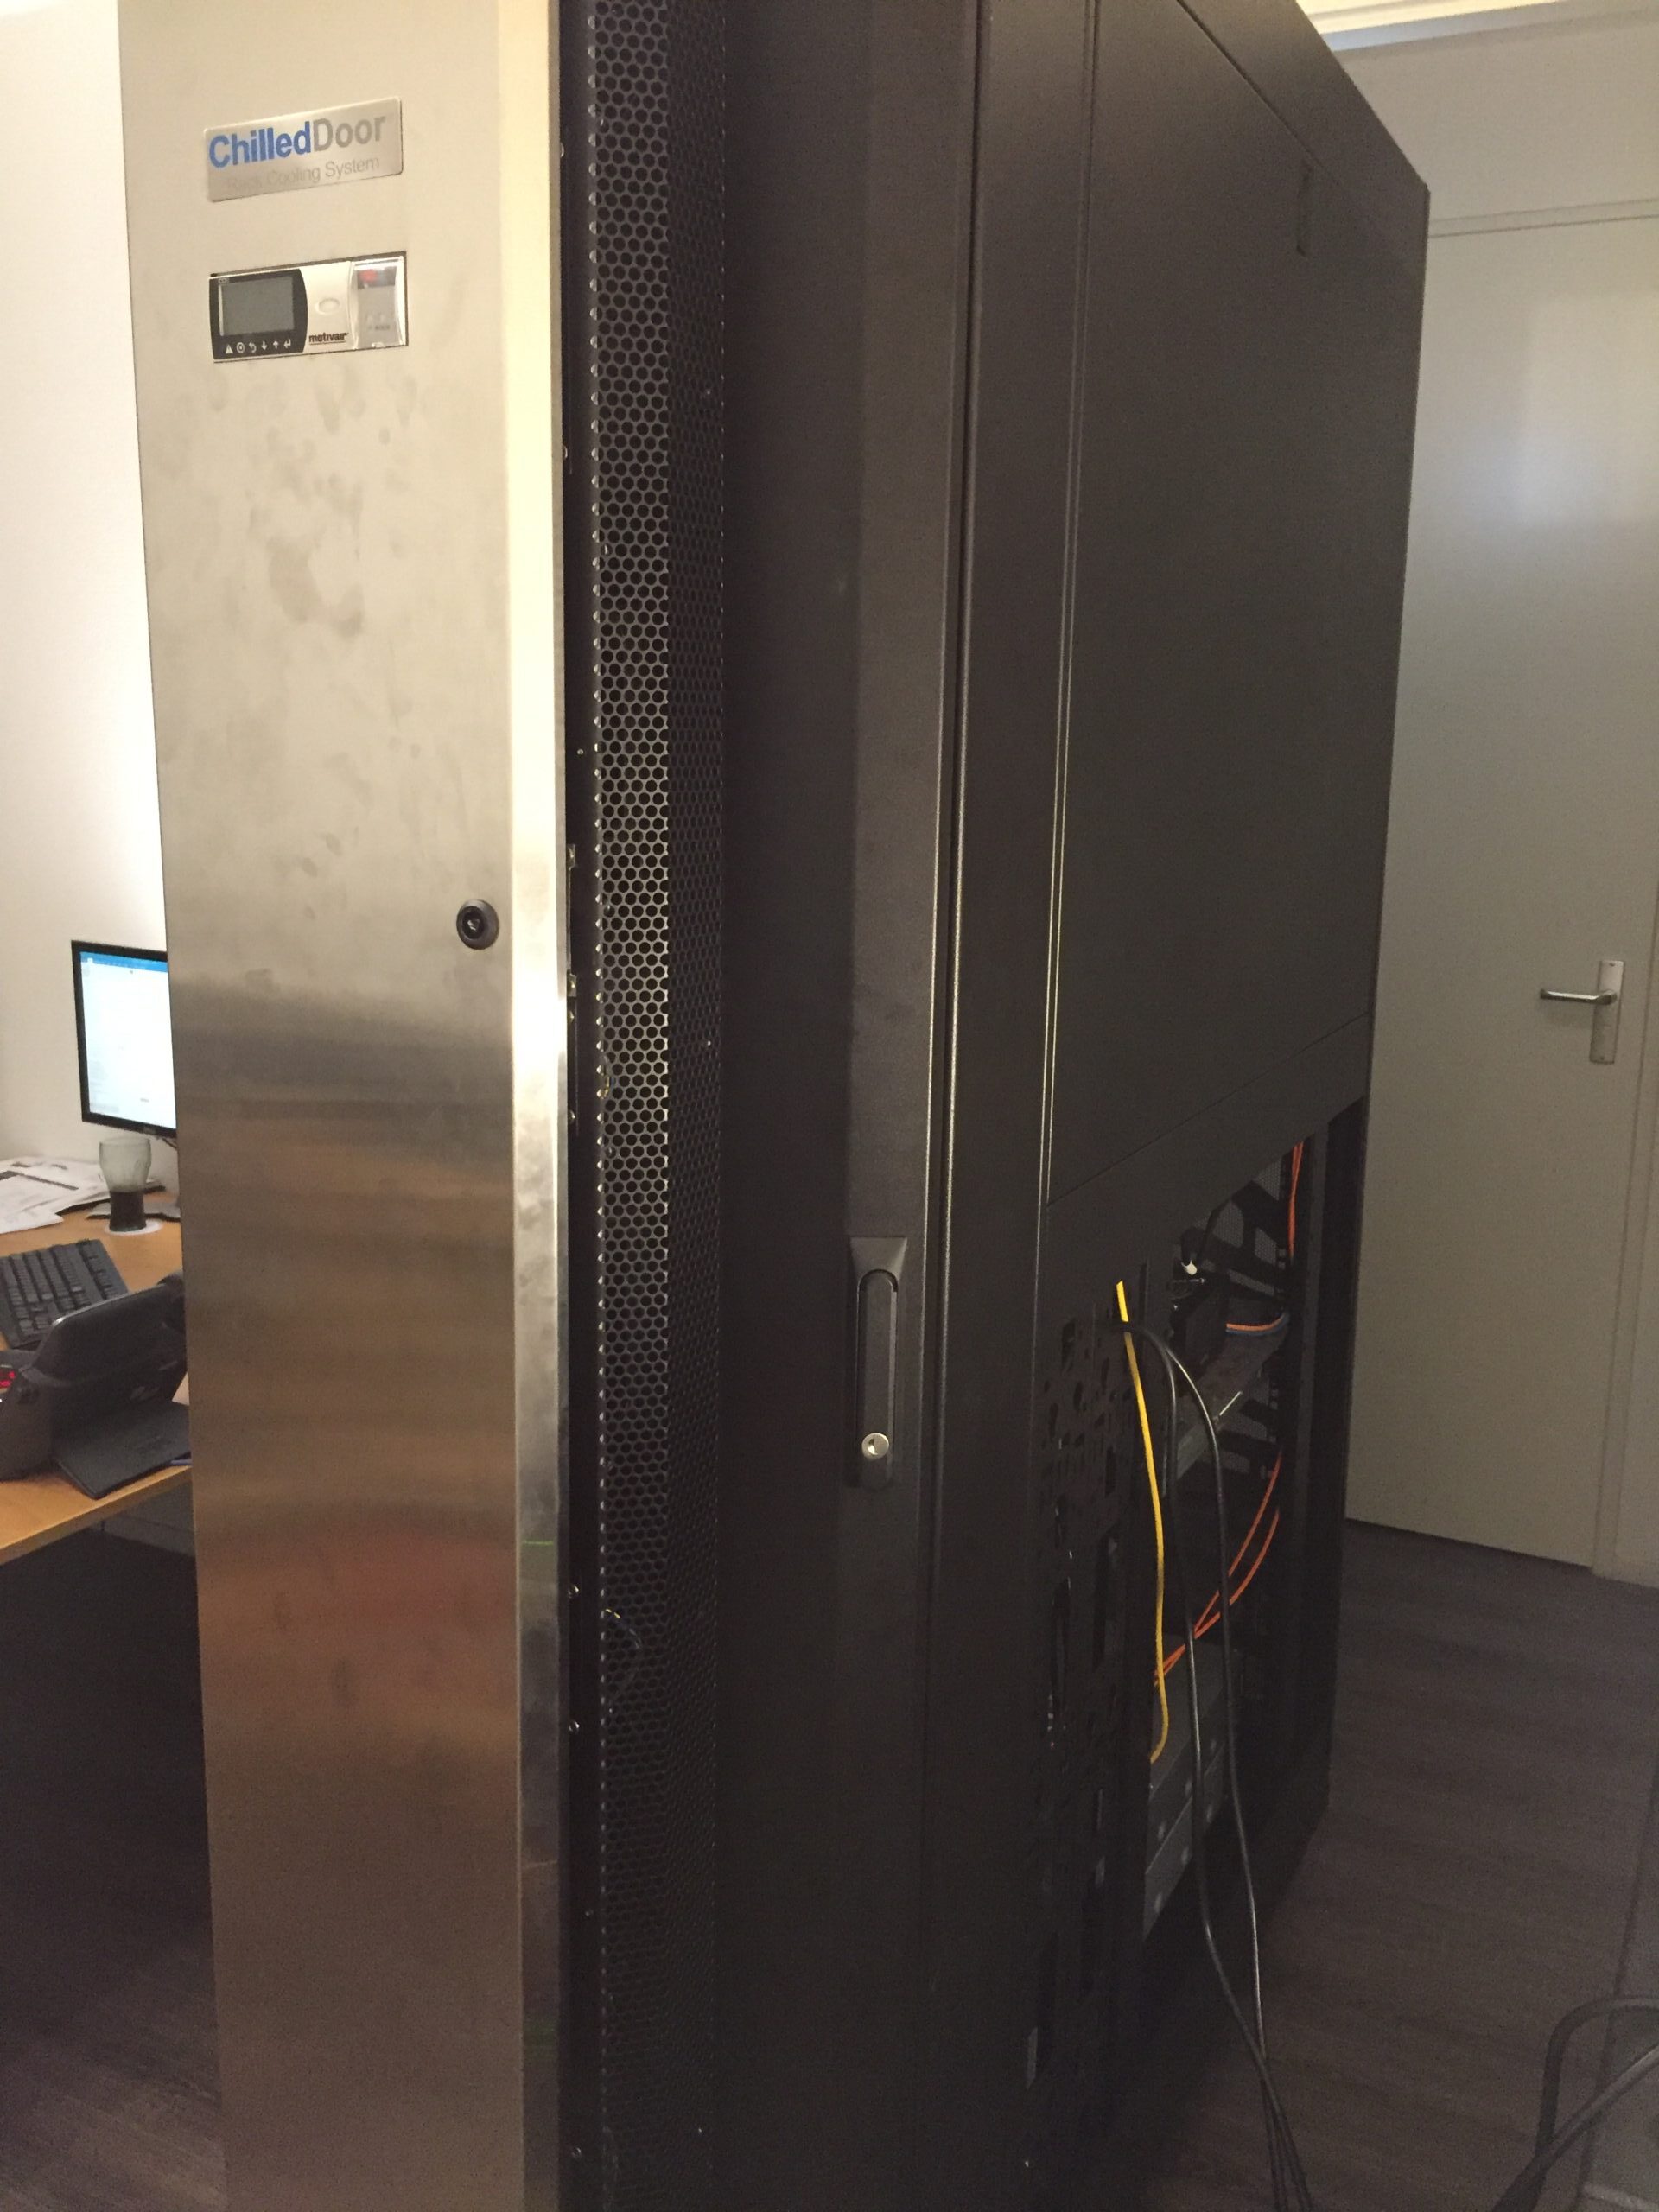
As expected, it’s quite huge and deep 🙂 Digging a bit deeper into the design: the rack is based off an APC Netshelter 48U rack with custom front door and Motivair Chilled door on the back. That last part is what makes it a bit unique for homelab use but solves the heat issues most people have with larger homelabs and i definitely like the challenge to get it up and running.


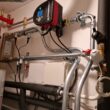
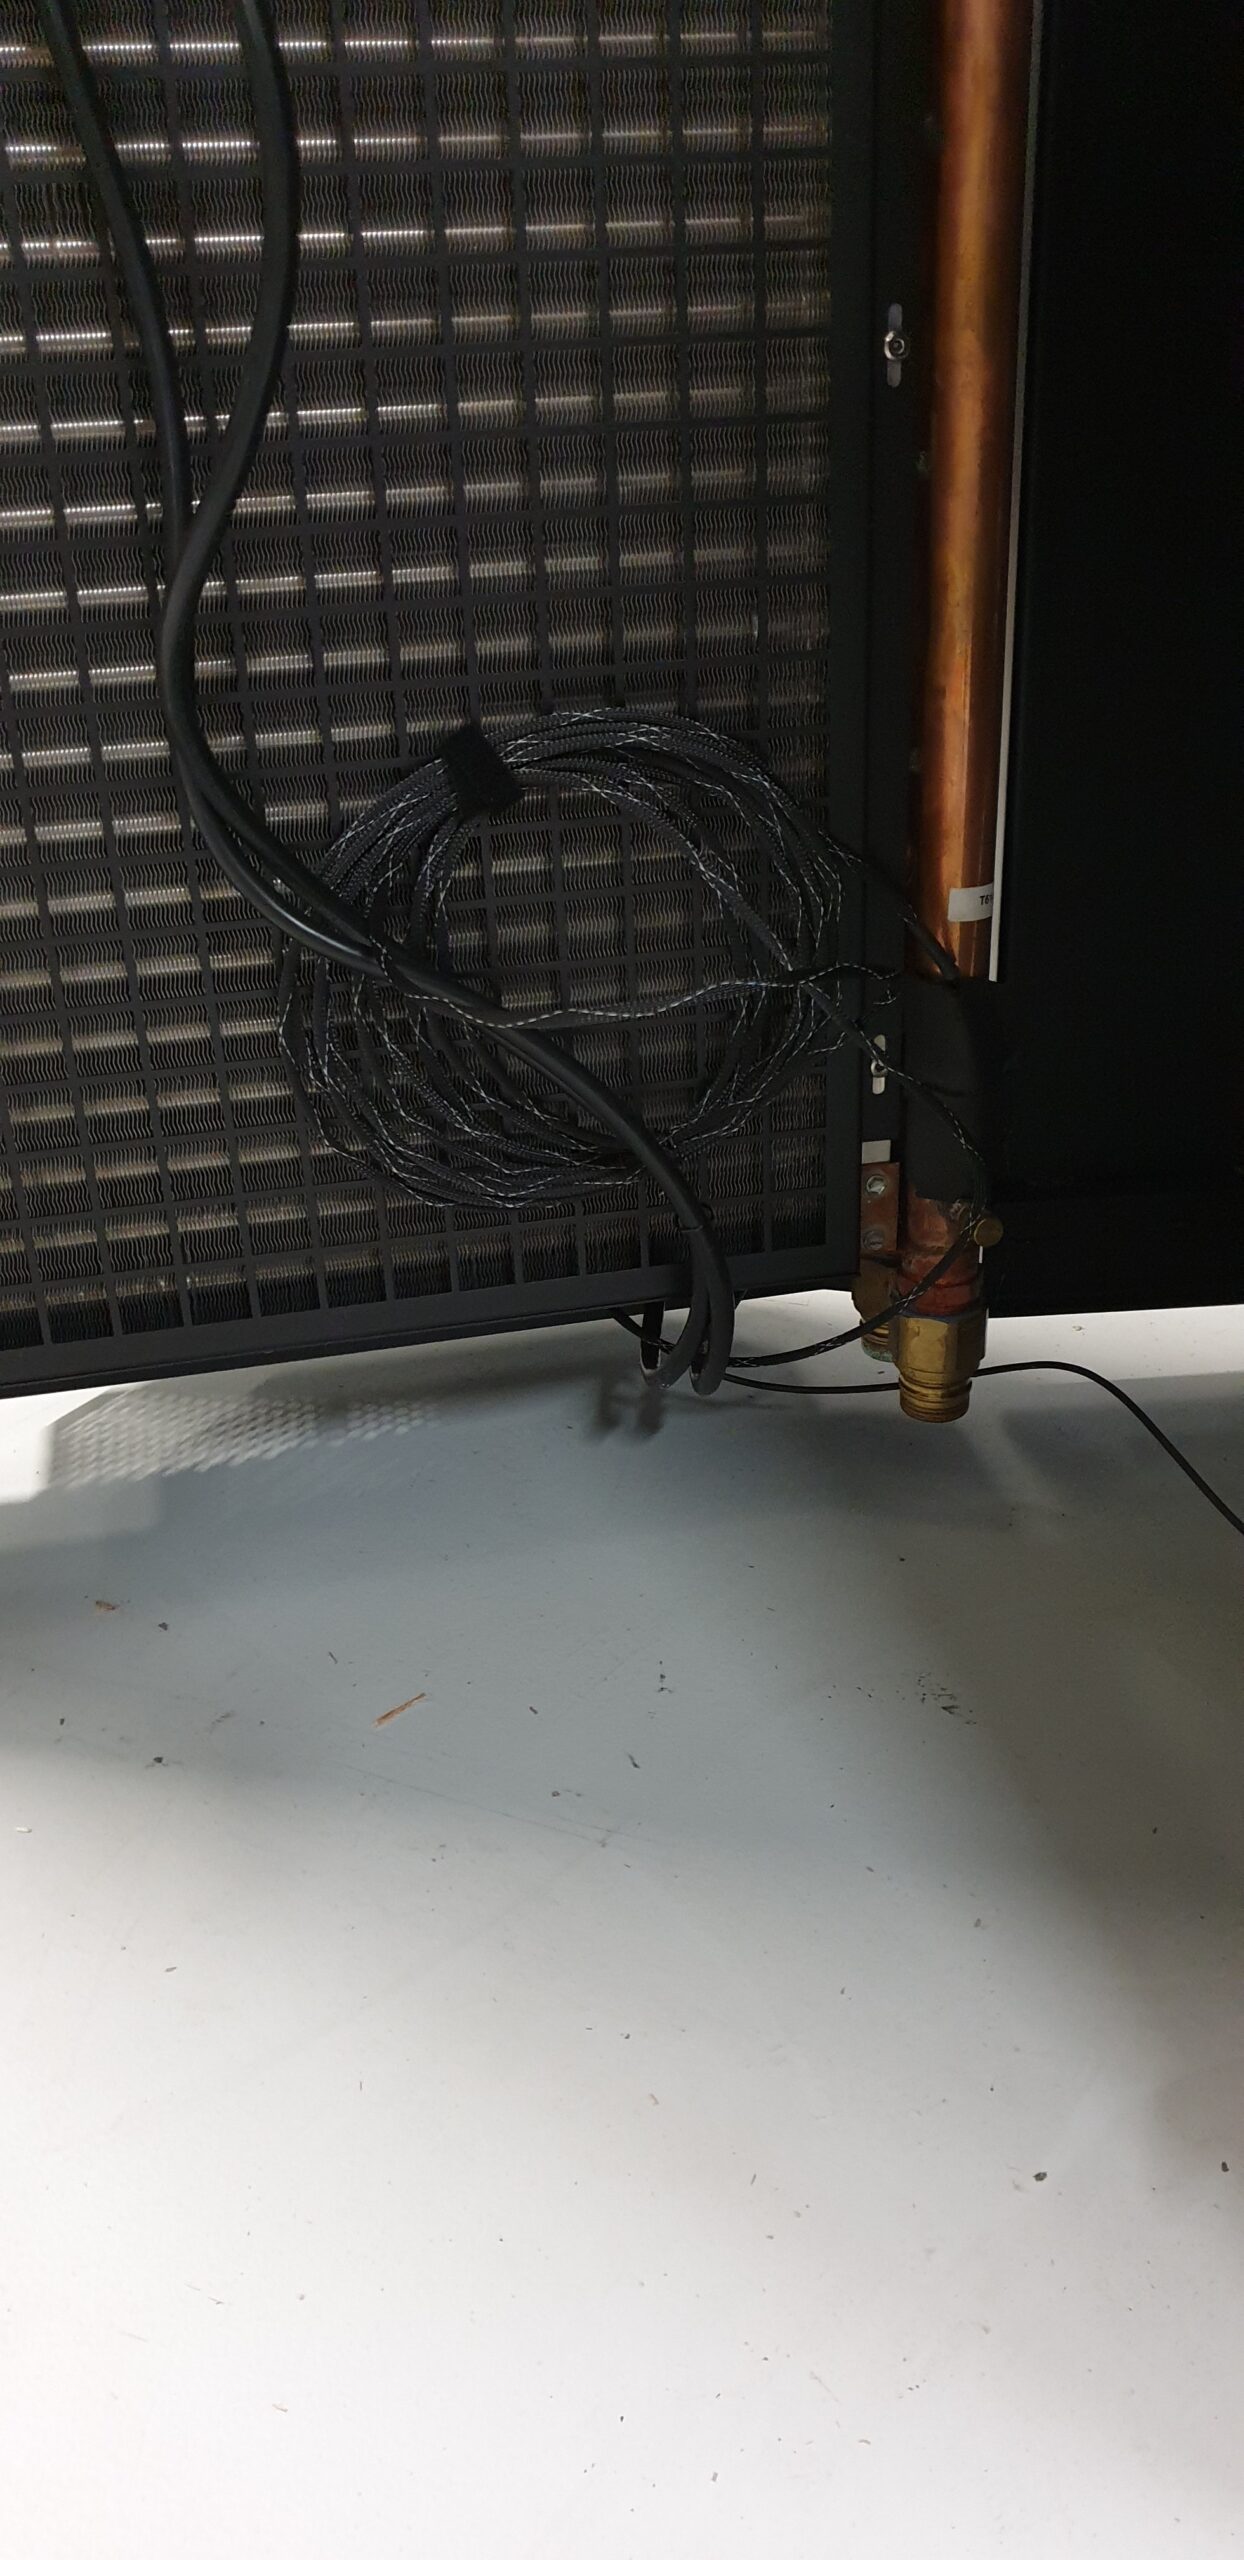
How it works is as follows: the back door is basically a giant heat exchanger which sucks in the hot air from the servers, cools it down and blows it back out at room temperature.
The door has a water supply and return connection at the bottom, so by circulating chilled water through the heat exchanger the air is cooled down. The water will take over the heat and has to be cooled back down before feeding it back to the door. I plan on using the thermal energy storage system of my house to accomplish this.
There are temperature probes at different places in the rack: air inlet (front door), server outlet, chilled door outlet etc. These send data to the inbuilt PLC and together with some pre-set values and temperature delta’s the fan speed and water flow is regulated to keep a constant temperature.


Since I want the rack to be movable I built a dolly the same size of the rack footprint. It’s made out of 2x 15mm plywood and has two parts on top which lock into the rack and bolt to to the rack mounting points.
Another advantage of the dolly is that the rack is raised up by about 18cm from the floor, which allows me to connect the water hoses in the future (normally these go down in a raised floor at the datacentre).


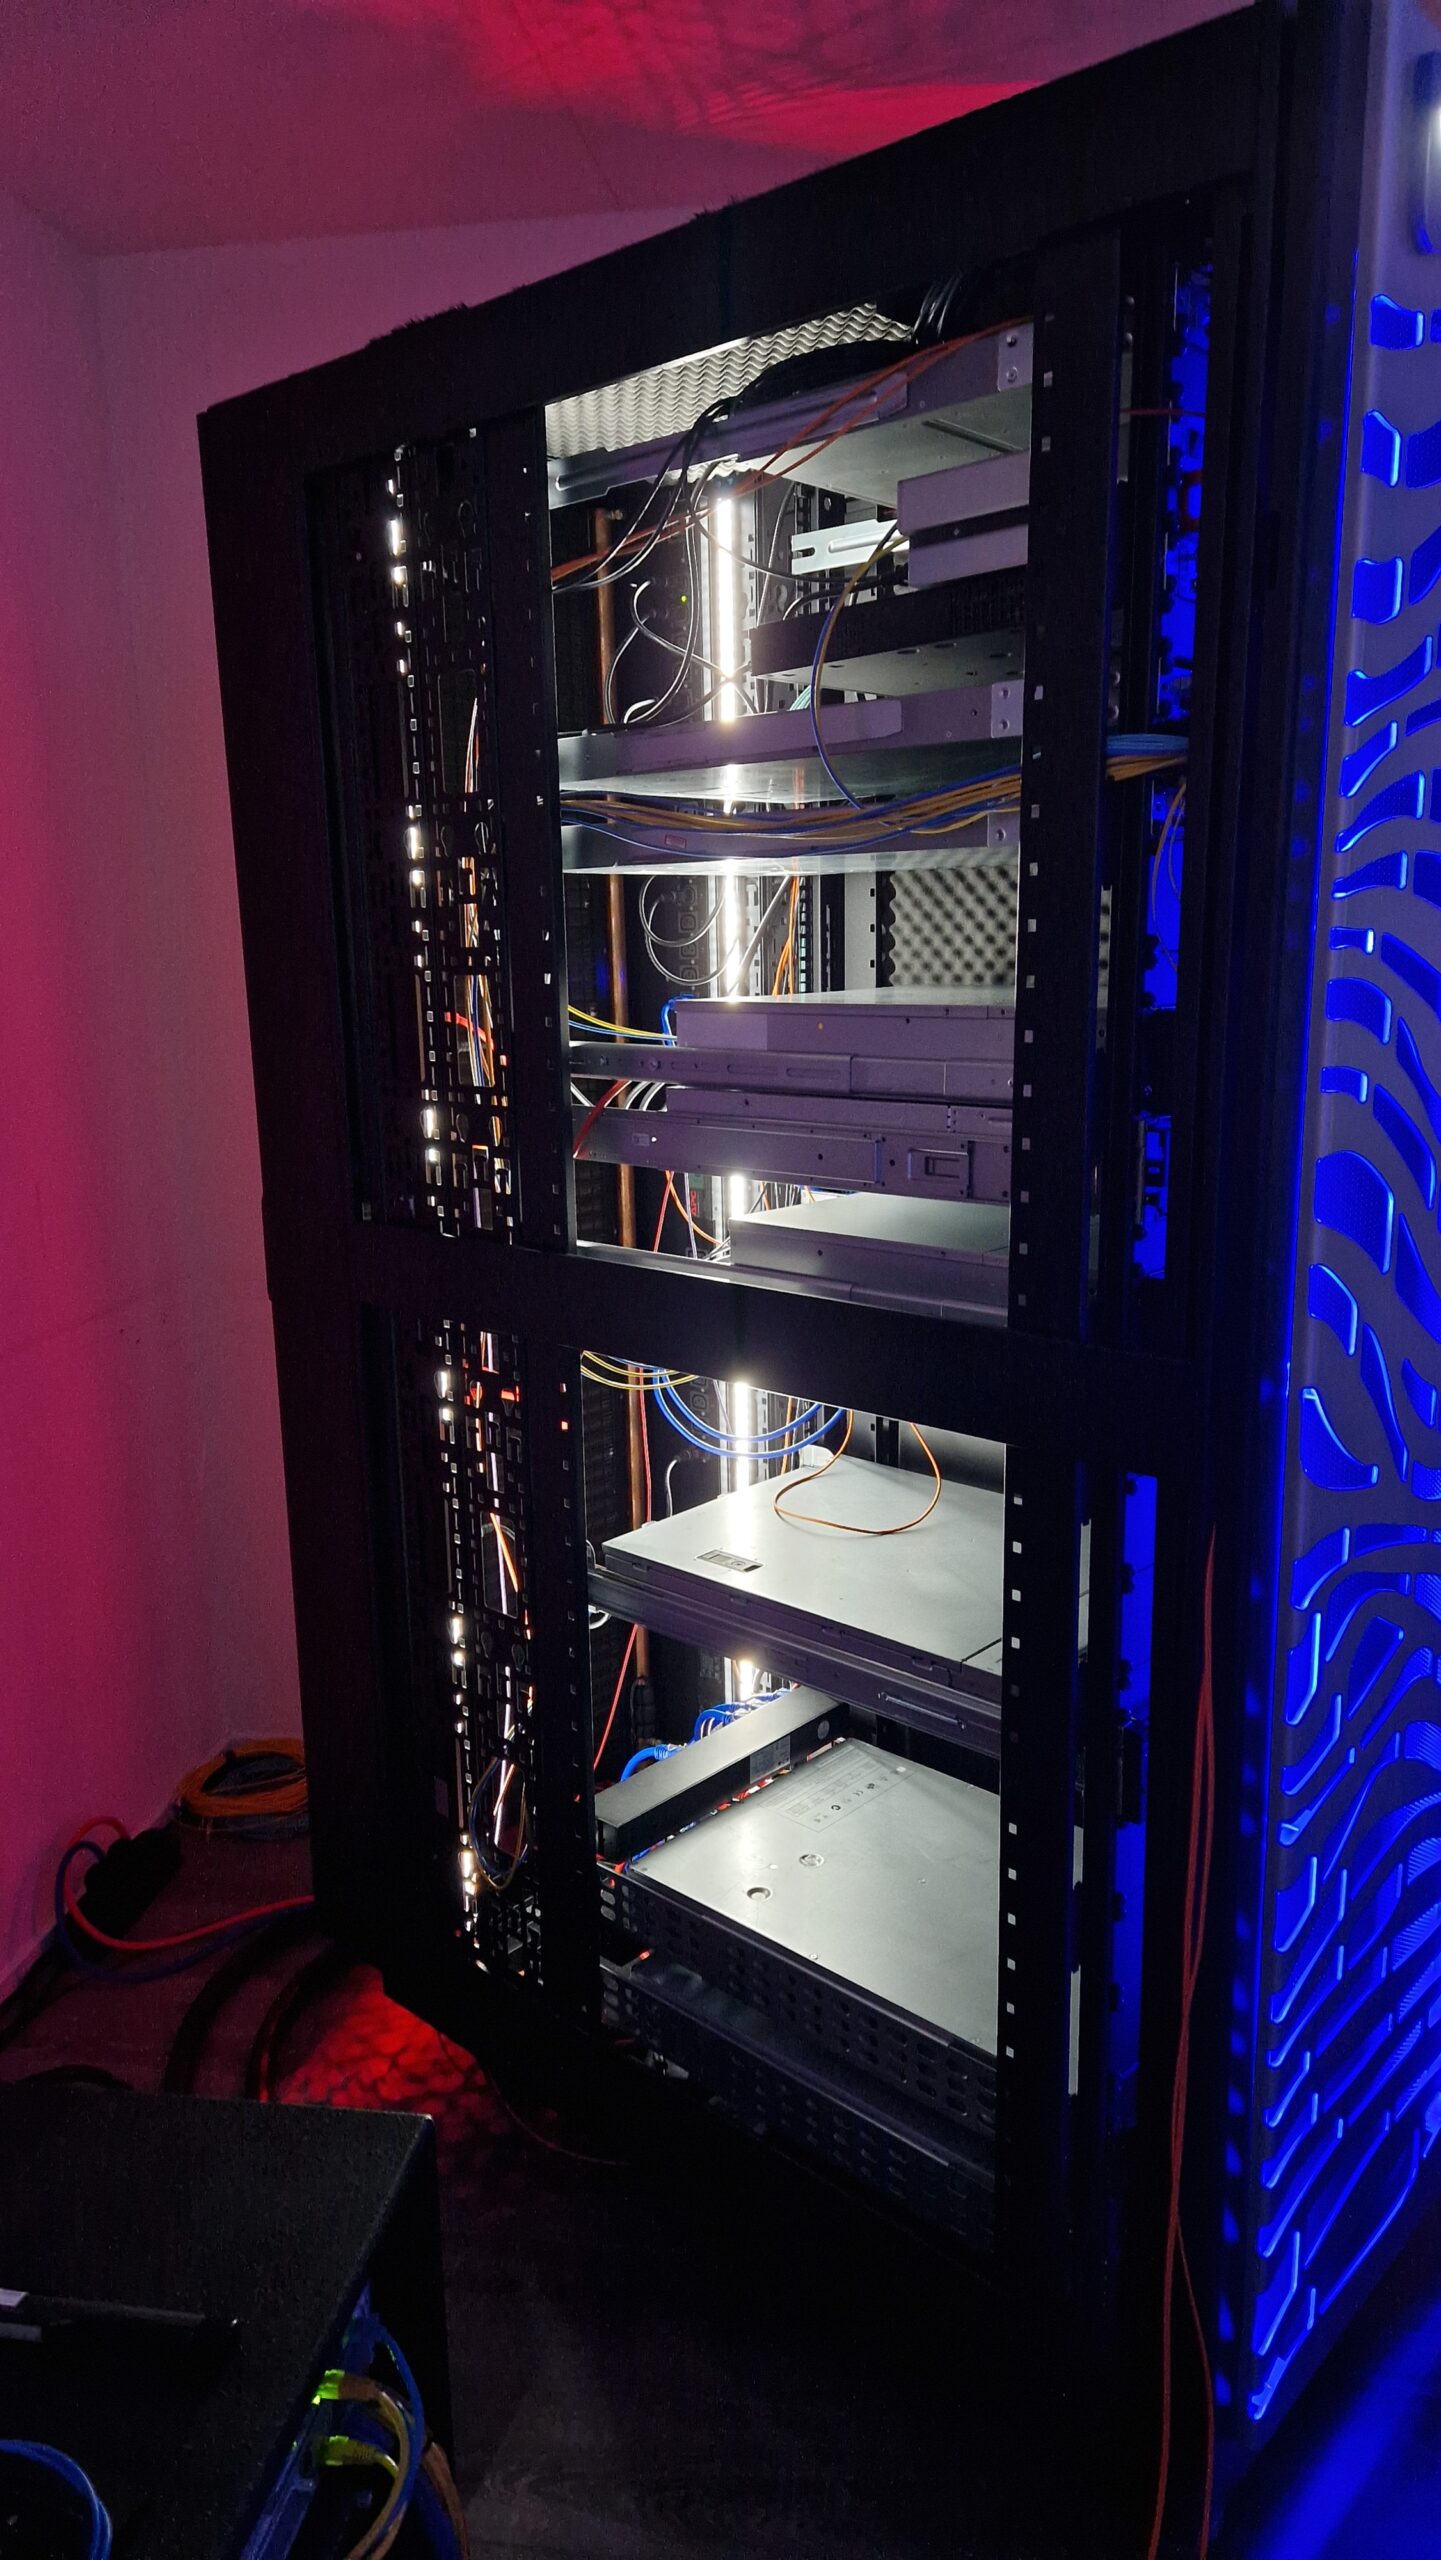
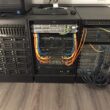
Finally, to add a bit more bling and create some work light in the back I ordered some LED strips to mount on the inside of the front door and in the back of the rack.
Since they are slightly visible, the front strips are COB RGB strips. They are connected to a wireless remote.
The back “worklight” strips are cool white strips connected to a touch dimmer/switch. I mounted them in a 45degree profile which I in turn stuck onto the vertical PDU’s that are in the back of the rack. This way the light is spread nice and even all across the back of the servers and equipment.
PS: the red glow coming from the back of the rack are the LED strips in the chilled door. They are factory installed and are blue when everything is ok but turn red when there’s an error condition. At the particular moment I took the picture the PLC was unhappy about the temperatures 🙂