When I started looking for a lab rack many years ago, I couldn’t find anything that would fit my needs: due to the fact that in my old home, I had to place my lab underneath some windows, I was limited to a max rack height of 80 to 90cm. Another requirement was that, since the racks would be up against a wall, they needed to be movable to reach the back.
In the end I decided to build them myself. It started with one rack, that soon became two racks and eventually ended up growing to three racks. Since they are now beïng decomissioned to create space for a new setup, I thought it would be a good moment to share the designs.
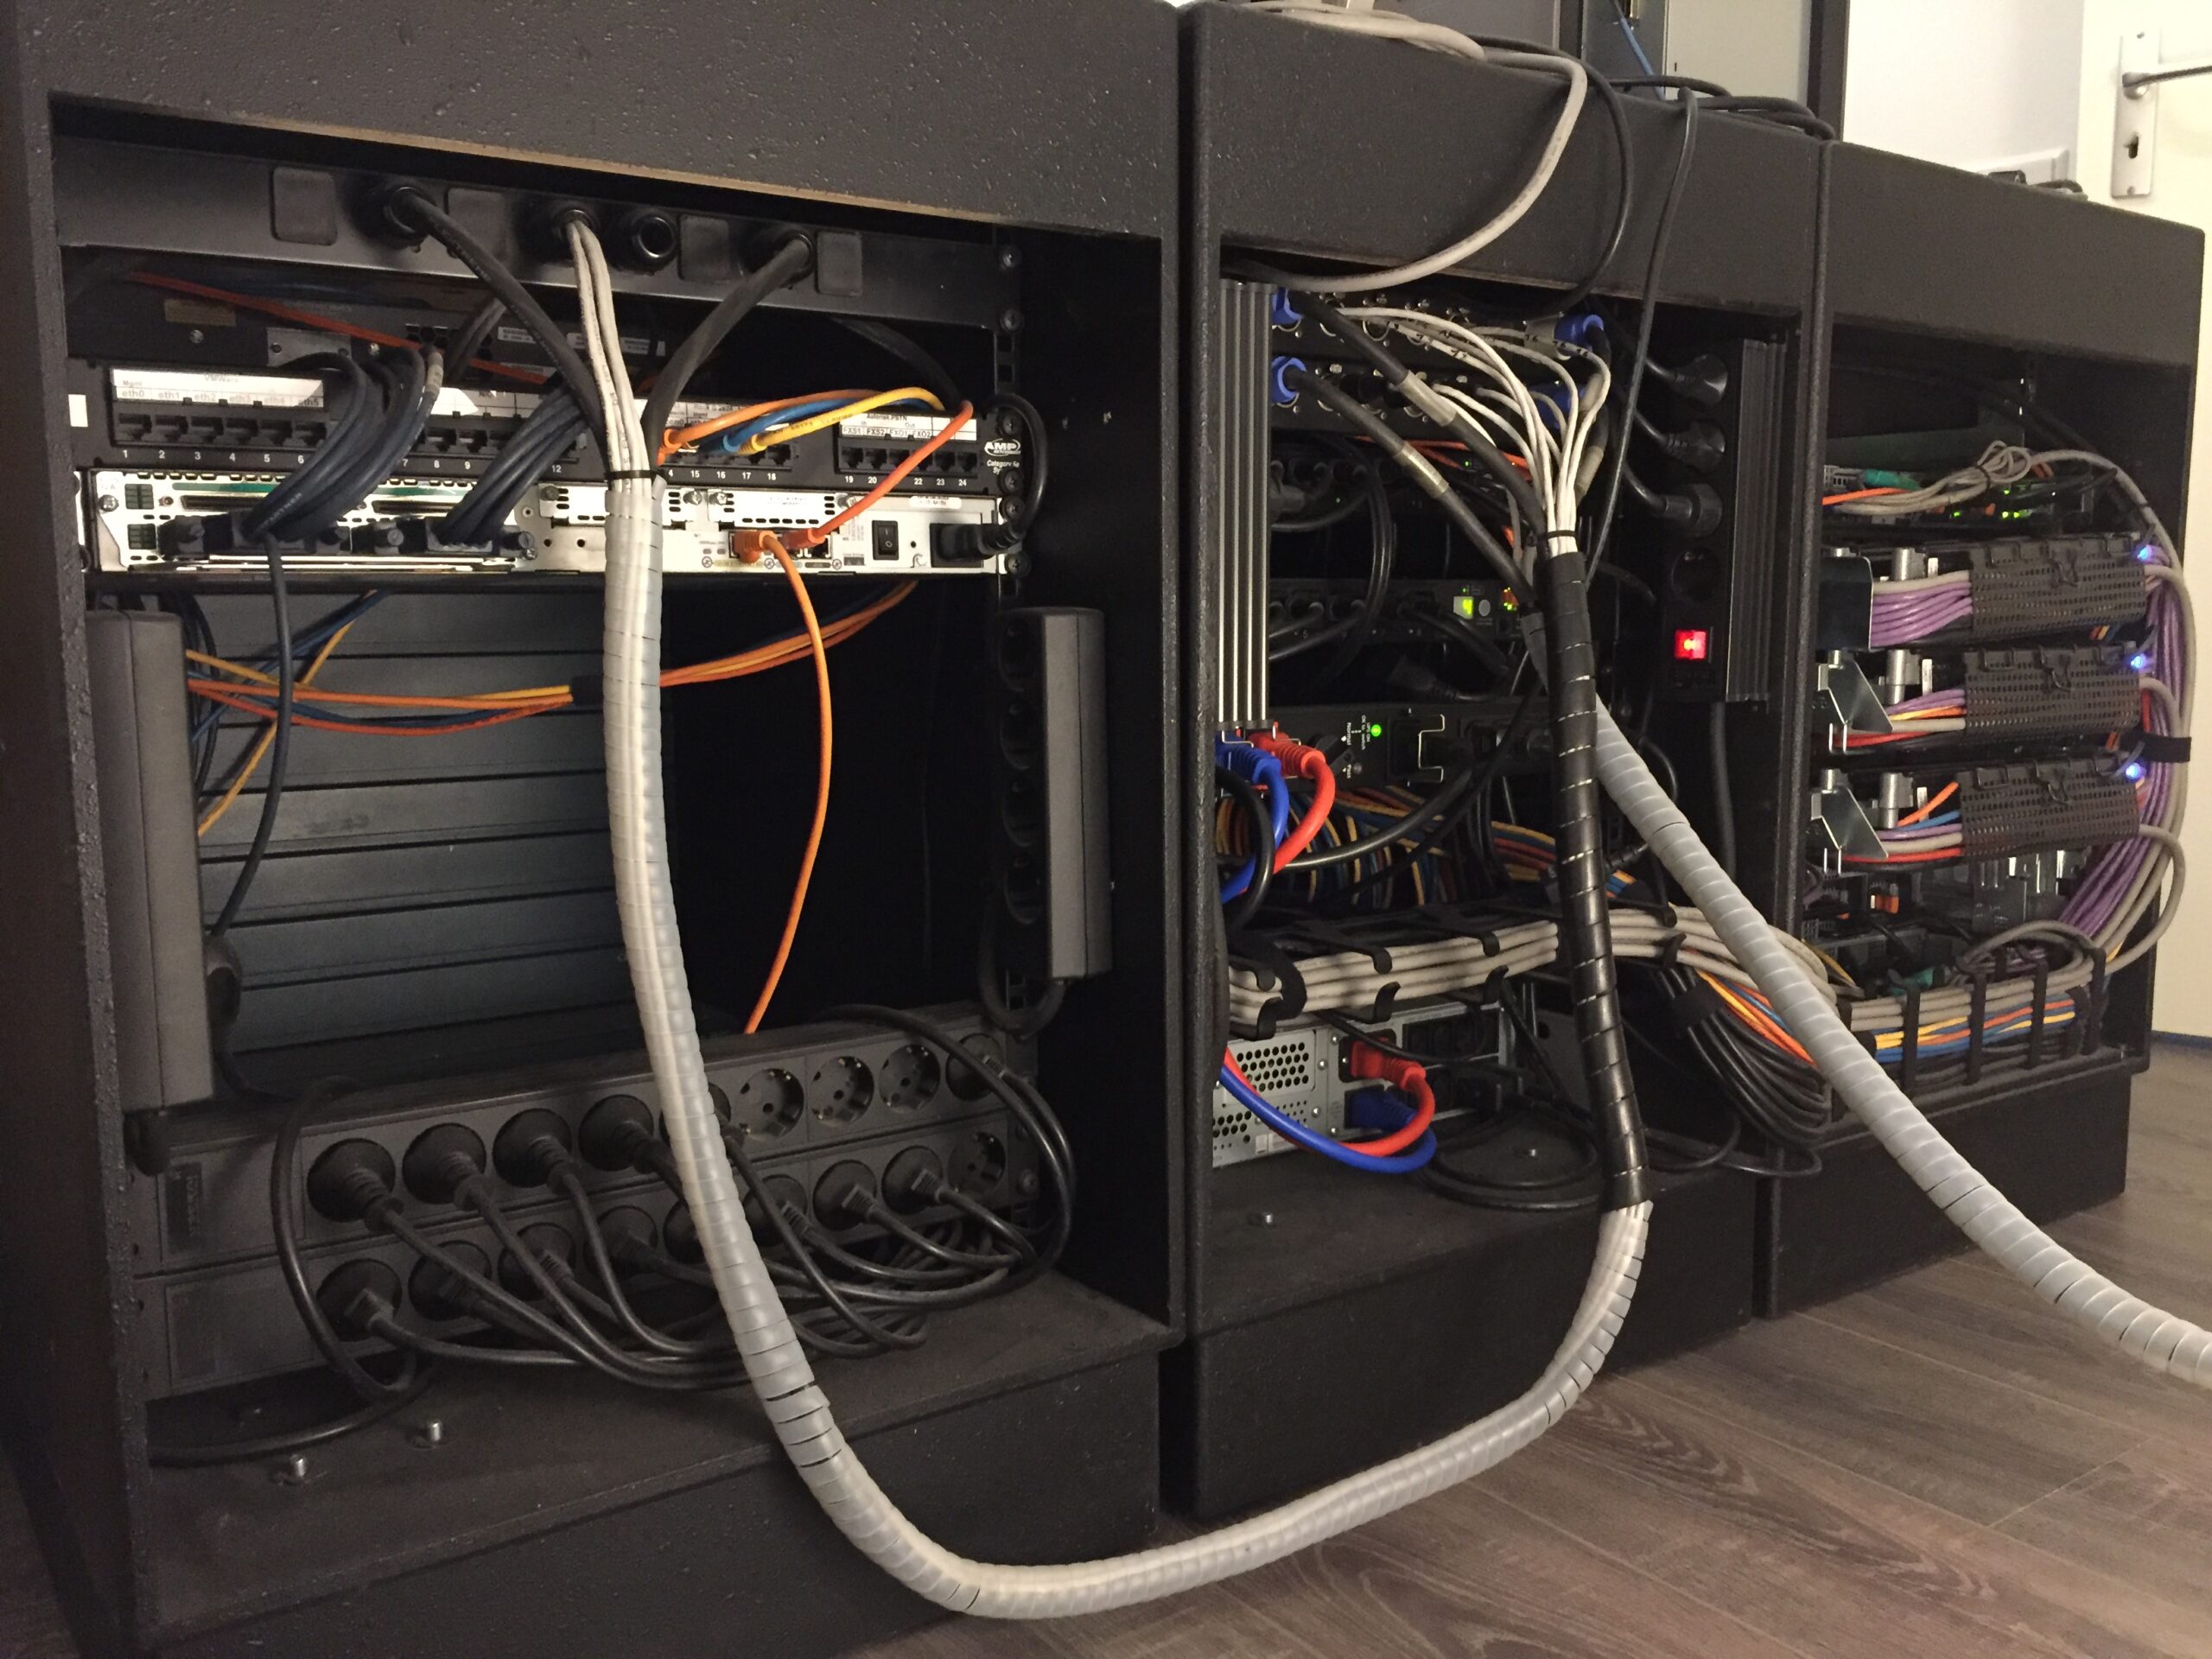


Each rack has 15U of 19″ space, is 90cm deep and has hidden wheels underneath. In the setup above, the left and middle rack are bolted together due to all cabling running in between. The right one was my Cisco Lab rack for testing different configurations so it can be moved independent of the others.
The Cisco lab rack was the first one to be emptied out so that was a nice moment to take some detailed pictures.


Each rack is made of 15mm plywood, tacked and glued together. All other parts are sourced at Penn-Elcom. They specialize in flightcase and 19″ racking parts so they have everything one could need for a build like this.
- Rack Rails: Penn Elcom R0863. The easiest way is to buy them in 4 pre-cut 15U sections. You will also need 2 3U sections for the vent on top.
- Castors: Penn Elcom W0990/80. These are heavy duty swivel castors that are easy to roll and can keep up with the weight put in these racks.
- Perforated vent: Penn Elcom R1286/3UVK. I like the look of these. They can be modified to fit 12×12 fans. I use the ebm-papst 4656Z which has proven to be very reliable for 24/7 operation.
- Fasteners:
- T-Nuts M8 and hex bolts M8x20 for mounting the wheels
- Black socket machine screws M8 and Nylock nuts for mounting the rack rails
For the finish of the rack you can choose whatever you want. I chose Warnex textured paint.
Below you can find the drawing with all dimensions. Click here to download it in pdf.

The drawings respresent my latest method of constructing these racks. Grooves of 5mm deep / 15mm wide are routed into the main panels so the adjacent one “slots” into it: it makes the rack more robust and easier to assemble.
If you don’t have access to a router you can just slap the panels together with some bolts and glue, it will hold, I made my first racks like that too 🙂
That’s about it. Feel free to comment or ask questions if you have any!